Hallo Allemaal,
Hello Everybody,
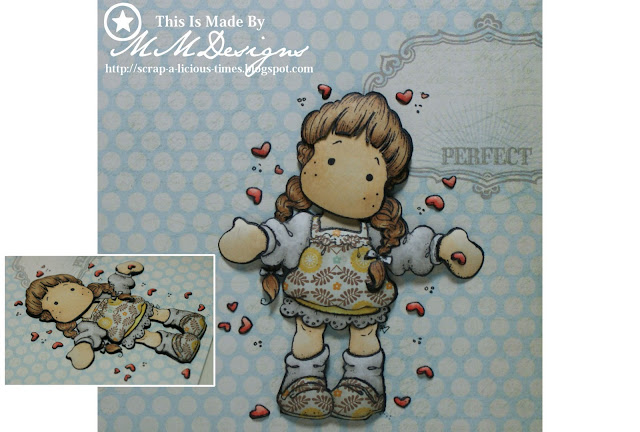
I've recieved so many questions if I wanted to do a tutorial on how I do my 3D stamped images.
I've done a tutorial before in which I already showed a short piece of the technique,
but in this tutorial I'll explain to you how I do this step by step.
From starting with stamping the image through the end result that goes on your project.
Today I'm showing you part 1 of the tutorial so stay tuned for part 2.
Tomorrow I'm going for a nice day to the Kreadoe fair with my mum in law,
so I think you can expect part 2 on sunday! ;)
The video is in dutch... but I think by looking you will get there also!
Image: Magnolia.
Colouring Medium: Copic Ciao Markers.
W00,W1,W2,W3,R02,R05,Y11,Y21,YR23,E31,E33,E35,E50,E51,E53.
Papers: My Minds Eye - Fine and Dandy "True Blue".
My Minds Eye - Lost & Found "Portobello Road".
Tools: LERO Hobby - 3D Lijm Kit.
Pergamano - Ciseleer Matje en Pennen.
Letraset - Black Fineliner 0.7.
Letraset - Black Promarker XB.
Tweezers & Scissors.


6 Lovely people left a message!:
veel plezier op de beurs enne niet teveel uitgeven hé hihi
Bedankt voor de uitleg!! Ik ga het zeker eens uitproberen.
Veel plezier op de kreadoe.
Groetjes,
Sandra
Marit, hier heb ik vol bewondering naar zitten kijken. Wat heb je dit ongelooflijk professioneel opgezet, mijn complimenten! Ik had werkelijk geen idee dat er zoooo veel werk bij kwam kijken en vind het ook heel knap hoe je hebt uitgevogeld wat er zwart moet worden gemaakt. Vol interesse kijk ik uit naar deel 2 maar wens jou eerst veel plezier in Utrecht!
Groetjes, Irene
Handige tutorial hoor, ik ga het zeker een keertje proberen
Liefs,
Patricia
Wow wat een schitterend kaartje en de tutorial is erg mooi en duidelijk.dankje hiervoor
Groetjes Tineke
Hallo Marit, ik heb me net als volger bij je aangemeld, wat een gave blog heb je, heel goed voor ook onze inspiratie. En leuk dat je ons laat meegenieten van Nicole op de stand van de Flexmarkers, ik ben woensdag al geweest, toen was ze nog fris en fruitig haha, groetjes en ik kijk uit naar je volgende uitleg, groetjes, Jeannette
(helaas moet ik het bericht op anoniem zetten, anders krijg ik hem niet geplaatst)
Een reactie posten
Heel erg bedankt dat je de tijd neemt om een berichtje te schrijven.
Ik stel het dan ook enorm op prijs!!!
Liefs & Groetjes, Marit.
xxx
Thanks so much for taking the time to leave me a message.
It's so very much appreciated.
Hugs & Kisses,Marit.
xxx